David Speight Photography
locating locations
What with the massive rise in popularity of landscape photography, combined with the affordability of digital cameras, finding new or little known locations and viewpoints to photograph can be a tricky and more importantly, a time consuming prospect. However un-realistic it may seem, I’m always of the un-wavering belief that just over the next hill or round the next bend of the river, something spectacular is going to happen and the surrounding layers of countryside and hills are going to naturally fall into place, creating that perfect and definitive composition. On a personal level, there really is no better and rewarding feeling, than knowing you have put the work in beforehand, getting to know a new area and finally putting together a few compositions that you know to be your best efforts. If you can achieve this just once in a while, it really doesn’t matter too much what anyone else thinks of those images.
Having arranged photography workshops for a number of years now and from many different locations across the north of England, One question (Among others) that I am frequently asked is, “How do you find these places?” It’s not the easiest of questions to answer and I must admit, I hadn’t really put too much thought into my approach to finding new locations (If I even have one) until just recently, when I realised I could probably do with a bit more space in the camper. My OS maps were starting to take over the van and I needed to tidy things up a bit. Obviously, no method is guaranteed to save you time and effort, but hopefully this post might give you a few more pointers to make the whole thing just a little bit easier, if not more enjoyable.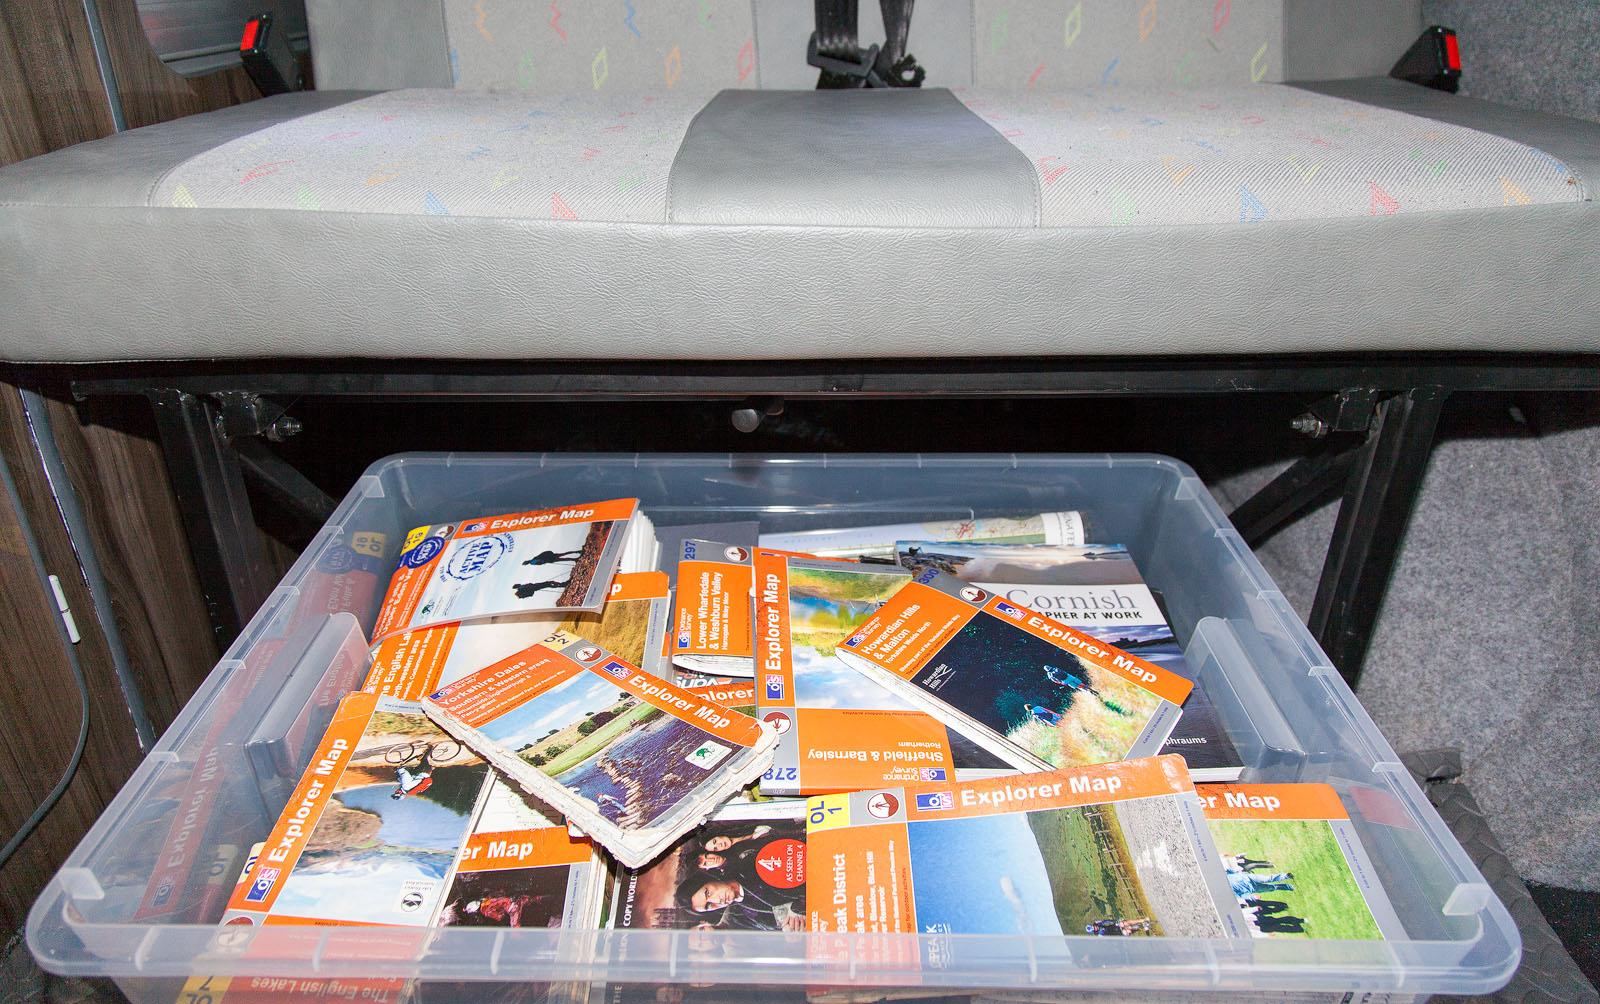
In the past, I’ve used all manner of methods to try and get an idea of the potential of particular areas. I would think that today, the majority of photographers will conduct location searches using the vast image archives of Flickr. There’s obviously nothing wrong with this at all and I have done exactly the same myself on one or two occasions. If you are quite new to landscape photography, this approach should also give you that much needed shot of inspiration, to really get you fired up to get out with the camera. However from my own point of view, I kind of don’t want to see the great images. Yes, I do want the inspiration, but I don’t want to be influenced too much by what I’ve already seen and I think striking the right balance can be difficult. So what other resources are there?
Alamy, the online stock library now have over 60,000,000 images online. They do not edit for content, so when it comes to landscapes, they range from some that in truth, are pretty ugly, right through to the sublime. One thing is for sure though; there is a good coverage of areas.
So what’s the difference between searching Flickr and searching a library like Alamy? Well the majority of stock images (Admittedly not all) are shot with an end user in mind and tend to be more record/documentary in style, rather than the personal/artistic approach favoured by most on Flickr and other sharing sites. This means that although the popular views still make up part of the results, you will find images that simply show an overview of the topography of the land, usually shot through the day with bright light and blue skies. On many occasions, I’ve been able to pick out features such as trees, hills, cliffs, crags and valleys that made up only a small percentage of the image, but nonetheless whetted my appetite enough to make me want to go and explore that area more. Because Alamy only edit for technical quality, most images you will come across will look clear and sharp, then there is the added advantage that many of these photographers don’t seem to know, or are not interested what the classic cliché shot from the location is.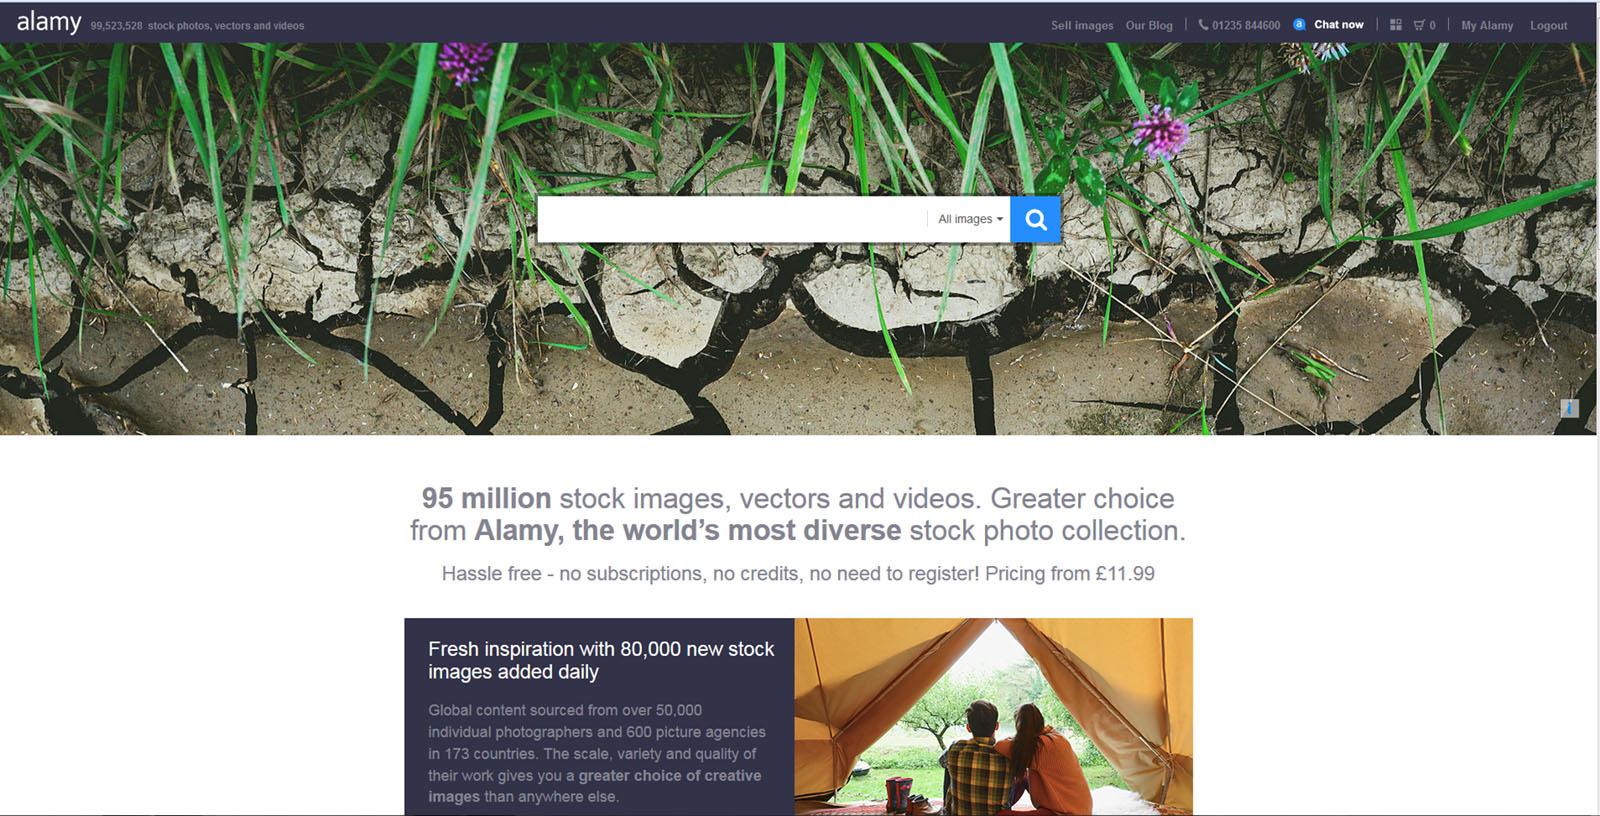
So, once you’ve found a likely looking general area, what next? There are a few different approaches you can take, but obviously the one you choose will depend entirely on how much time you can devote. For the majority of people, leisure time is very precious and in short supply, so the larger area needs to be narrowed down as much as is possible.
If you do have the time, obviously there’s no better way to cover an area than to just set off, immerse yourself in your surroundings and basically get lost (As long as this is not literally). On the few occasions that I’ve been able to follow this un-planned approach, perhaps surprisingly, results have actually been pretty good. I suppose the advantage is that you don’t have any kind of pre-conceived ideas about what or how you will shoot and you also tend to quickly cover a lot of ground, discounting areas of less interest as you go. The problem with this approach (If indeed it is a problem) is that it can take more than a few visits to find the kind of images that you are hoping for and can mean many hours spent walking with either poor or no results to show for it, depending on the size of the area you want to cover.
So, once you have a general overview of the area you want to photograph, you need to try and decide the best viewpoint to shoot it from. Is the elevated view going to be better than the one in the valley? Is the view going to be blocked by trees or buildings? Is there going to be anything available to include as a foreground? What direction will the light be coming from? It sounds like a simple task but in my experience anyway, is never quite so straightforward. Eventually though, there really is only one way to find out and that’s to put one foot in front of the other, get walking and give it a try.
In the past and whenever available, I have tended to use the very detailed OS Explorer range of maps and these have served me very well. It’s reasonably easy to plan your routes and get an idea of different features, distances and elevation from the maps while indoors, but obviously this becomes more difficult once you need to refer to them while on location and even more so in windy or worse still, wet conditions.
So what’s the alternative?
Well, I have often wondered how good, handheld GPS units, such as the ones produced by Garmin really are, and also what, if any benefits they could provide when looking for new areas to photograph. This question was answered recently, when I took delivery of the Garmin GPS Maps 64s with OS GB discoverer mapping bundled in. I have to say, initially anyway, impressions are pretty good. I can’t do a full review on the unit at the moment, but will hope to do so at a later date, once I’ve really been able to give it a thorough test. At the time, Go Outdoors were running a special offer. The unit, plus the 1:50 k mapping RRPs at £550.00 according to Go Outdoors, but was on offer for £299.00. When you consider that the GB discoverer mapping alone, retails at £199.99 from OS, I thought this was quite a good buy.
Here are details of the unit provided by Garmin.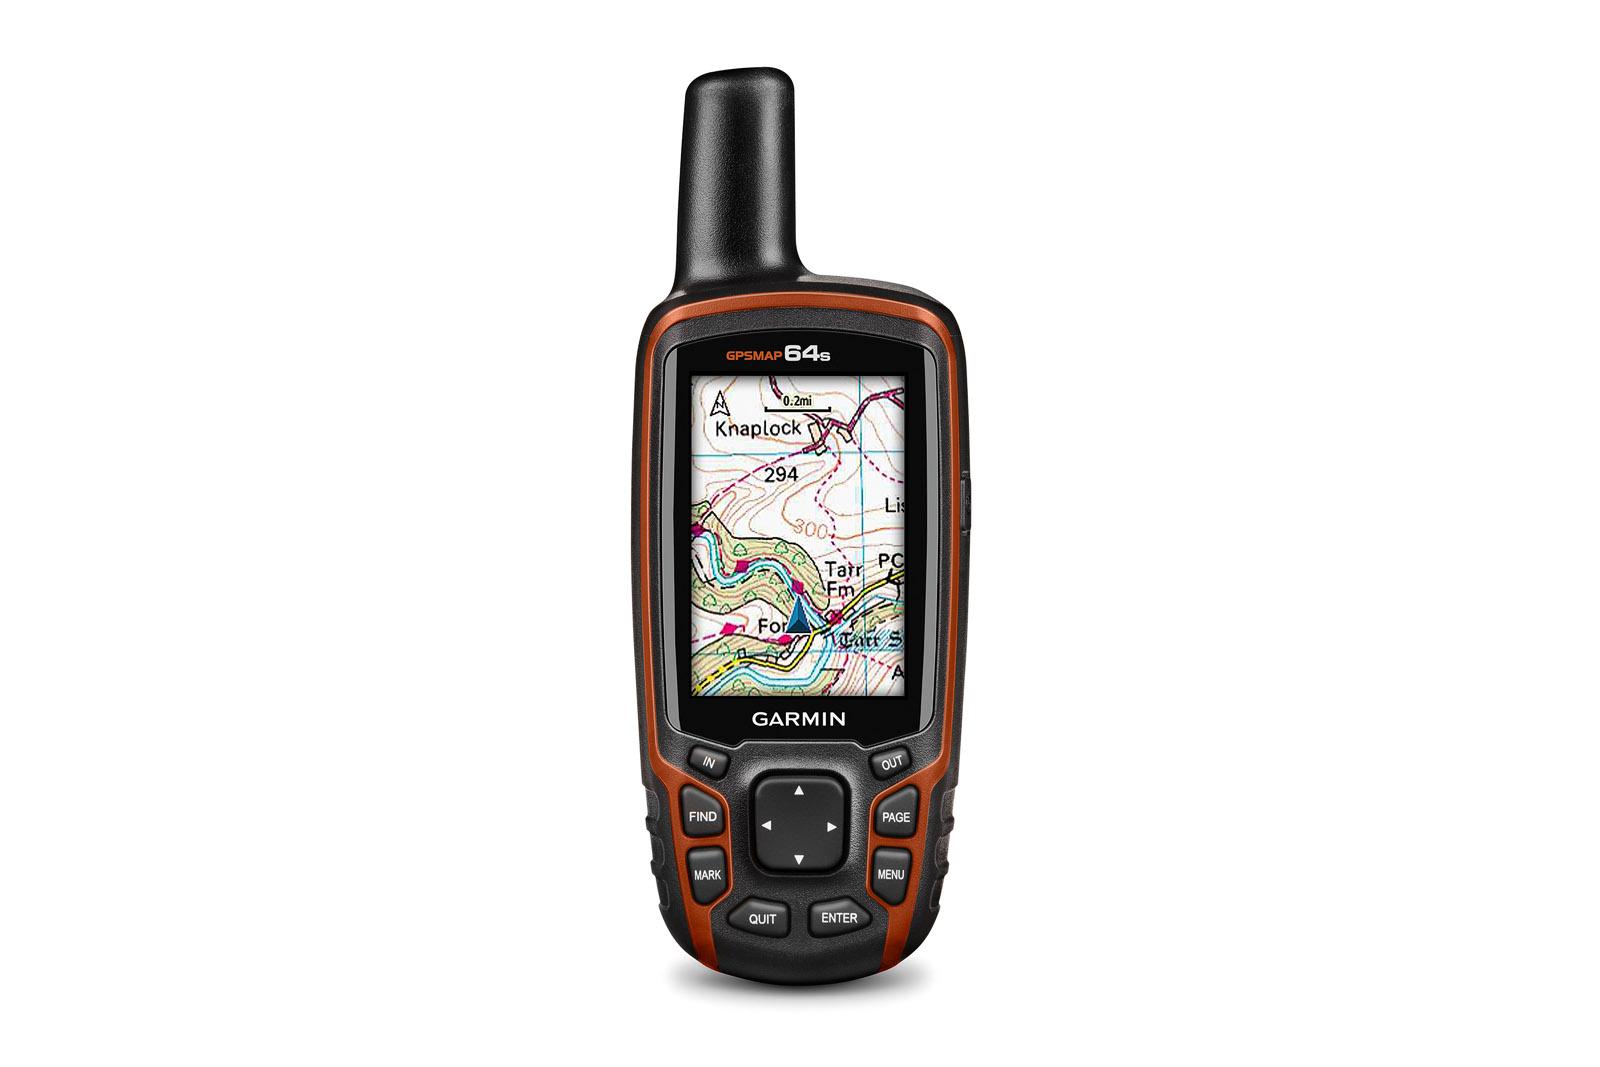
With its quad helix antenna and high-sensitivity GPS and GLONASS receiver, GPSMAP 64 locates your position quickly and precisely, maintaining its location even in thick forest and deep valleys. The advantage is clear; whether under heavy tree cover or just near tall buildings and trees, you can count on GPSMAP 64 to help you find your way when you need it the most.
GPSMAP 64 is a truly outdoor optimised GPS Handheld, every feature of this device is designed to operate reliably in the most harsh and challenging environments.
GPSMAP 64 comes with a comprehensive set of navigation features. Use waypoints, tracks and routes to navigate with confidence off the beaten track and when you need to find your way safely home use TracBack to guide you.
Adding more maps to GPSMAP 64 is easy with our array of detailed topographic, marine and road maps. With 3.5 GB of onboard memory and a microSD card slot, you can conveniently load additional data.
This S-version of the device features the addition of a one-year subscription to BirdsEye Satellite Imagery.
Features:
• 2.6in sunlight-readable colour screen • High-sensitivity GPS and GLONASS receiver with a quad helix antenna • Preloaded option with TOPO UK map featuring Garmin activity optimised routing • Also includes Worldwide base-map with shaded relief • Outdoor optimised dual battery system • 3.5 GB of internal memory and a microSD card slot • 250,000 preloaded caches for paperless caching from Geocaching.com
What’s in the Box:
• GPSMAP 64 • GB Discoverer 1:50k Ordnance Survey maps of Great Britain on microSD card • Lanyard • 1-year BirdsEye Satellite Imagery subscription • USB cable • Documentation
The unit itself looks pretty substantial and as if it should be able to handle the odd knock or two. It’s also claimed to be waterproof. I’ve not had a chance to put this to the test yet, but I’m pretty sure I probably will do. From a safety perspective, the GPS is obviously a handy tool to have if you’re going to be walking in nasty conditions or low light. The threat of getting lost shouldn’t be underestimated, even in relatively un-hostile areas. I found this out a couple of years ago in the dales above Wharfedale, when the wind got up quite strong, blowing snow around causing a white out making unaided navigation impossible. It’s easy to think of quite a few applications where the GPS unit could come in quite handy. I’m pretty sure that for those who like to shoot trees/woodland, marking favourite spots as a waypoint will be invaluable, meaning you can return to within a few feet of your original position time and time again and in differing conditions, if required.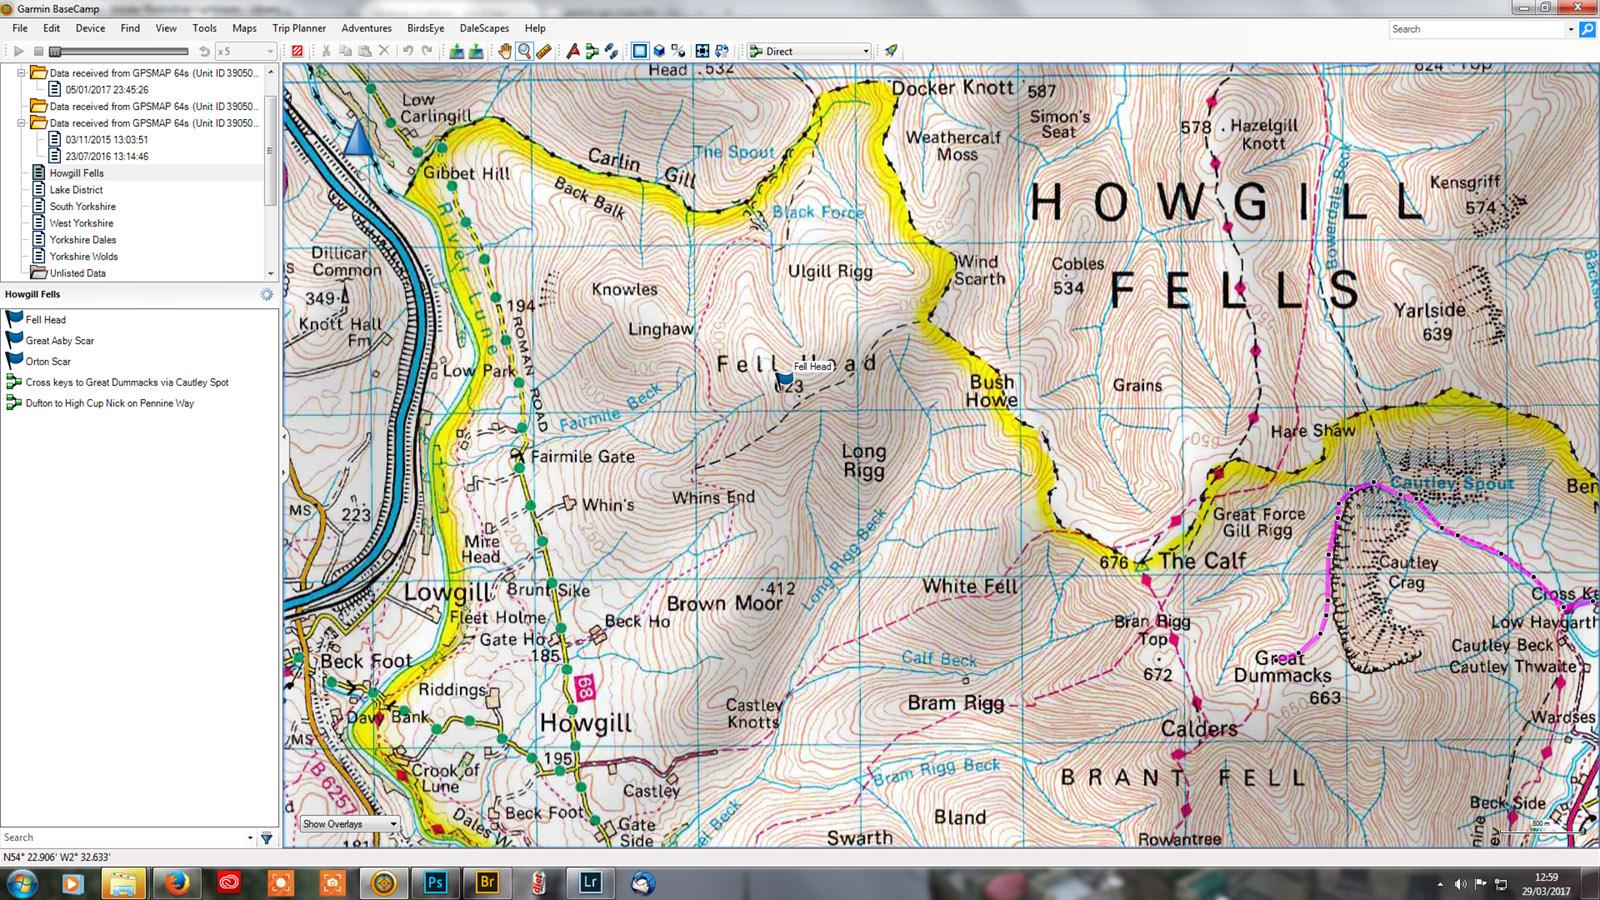
I have to say though, the one thing I have been very impressed with, is the ability to use Garmins Basecamp software in conjunction with the GPS unit. You can basically bring up the OS Discoverer 1:50 k map on screen and enjoy detailed mapping of any location within the UK. Using the different tools within the software, you can measure distances from point to point or for a particular route that you have marked out. The software even tells you the estimated time it will take to walk the route and the amount of elevation from start to finish. All those different areas on the ‘To shoot list’ are added to your route folders within the software and in turn the handset, so you now have a constant handy reminder of the next spot on the list while you are out shooting. I probably won’t get rid of the maps just yet, but if all goes well, I can see this new and much more interesting approach to finding new photography locations replacing the old one, sometime soon.
If you really got this far without nodding off, well done! And thank you.
All the very best,
David.
This entry was posted in blog. Bookmark the permalink. Edit
Posted on 3rd November, 2016